Treasure Caves of Hurum kâna
In the forgotten caves of Hurum Kâna, a scoundrel makes his home. The self-styled brigand king, Bârlat the Bold strikes at caravans and travellers on the nearby Great Road. The Doorwards of Zajâna have tasked you with bringing Bârlat to justice. But what secrets could the caves - and Bârlat - be hiding, deep in Hurum Kâna?
Non-Boss Enemies
Bârlat's Apothecary
The auto attacks of these enemies are all frontals (Cone, 7m, 120°) directed at whoever is highest on their threat table. Deals Frost damage.
Dark Graft: 4s interruptible induction, targeted at another mob that is not at full health. Heals 25% maximum morale instantly.
(T2) Nightmare Borne: 4s interruptible induction, standard targeting, dealing shadow damage and applying a curable Fear effect that lasts for 9s. While the player has this effect they are feared.
Missing Tooltip
Bârlat's Overseer
The auto attacks of these enemies are all frontals (Cone, 5m, 120°) directed at whoever is highest on their threat table. Deals Common damage.
Call for Blood: 3s interruptible induction, creates a Barlat’s Deadeye enemy 3m behind the Overseer that lasts for 130s.
Blade Sweep: 2.5s non-interruptible induction, deals Common damage in an Area of Effect (Cone, 7m, 120°) . This is a melee attack.
Impaling Strike: 3s non-interruptible induction, targets a random player, dealing high Common damage in an Area of Effect (Cone, 6m, 100°). This is a melee attack.
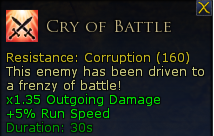
Cry of Battle: 3s non-interruptible induction, applies Cry to Battle (Corruption) to all mobs within 31m of the Overseer. Cry of Battle increases all damage by x1.35 and gives +5% run speed; lasts for 30s
Bârlat's Rat-master
Melee attacker that has various curable diseases which they apply to their target. These diseases all share a cooldown. When out of combat will summon a Keeper’s Rat as an Ally.
Swift stab: melee (5m), standard targeting, deals Common damage
Swarm of Rats: AoE (20m centered on their target), summons a Vicious Rat at any player’s location within the area of effect. Can not affect pets.
(T3) Two Vicious Rats are spawned at the player’s locations
Bârlat's Cutthroat
Initially will be stealthed; while stealthed they move at x0.5 run speed. Melee attacker, all auto attacks deal Shadow damage.
Plunging Stab: melee (6m) targeting a random player, dealing high Common damage.
Bârlat's Deadeye
Ranged attacker that can be Enraged into melee. All auto attacks deal Common damage; all ranged auto attacks have a range of 30m.
Piercing Shot: melee (100m), standard targeting, deals Common damage.
Flurry of Arrows: melee (100m), targets a random player, deals increased Common damage
Note! For some reason both Piercing Shot and Flurry of Arrows are considered Melee skills instead of Ranged.
Keeper’s Rat
Melee attacker dealing Common damage.
Vicious Rat
Melee attacker dealing Common damage.
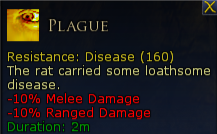
Plague Bite: melee (3m) applies Plague for 120s which reduces outgoing melee and ranged damage by -10%.
Bârlat's Tough
Melee attacker dealing Common damage.
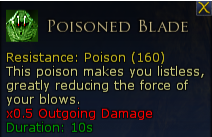
Poisoned Blade: melee (5m), deals Acid damage to their target and applies Poisoned Blade. Poisoned Blade lasts for 10s and reduces outgoing damage by x0.5.
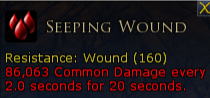
Seeping Wound: melee (5m), targets a random players, deals increased Common and applies Seeping Wound (curable, Wound). Seeping Wound deals Common damage initially and then Common damage every 2s for 20s.

Strategy
The fight starts with just Pakhan-Gebar, Servant of Stone. The fight area can be thought of as having 4 ‘lanes’ that run north-south across the arena.
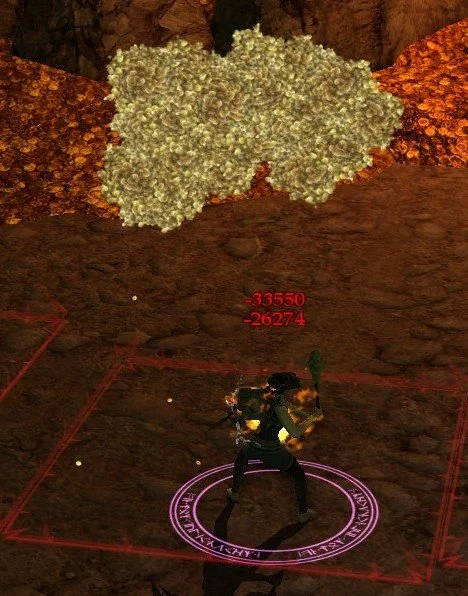
When Pakhan-Gebar says “These dunes shall be your grave!” then two of the four lanes are going to get Sand Dunes in them and those dunes then start moving to the other side from where they spawn along the lane. Whichever side they spawn on is random. Being hit by one of the dunes will deal a large amount of percentage damage to the player, as well as knock them back. There will be three sets of two dunes before the mechanic ends.
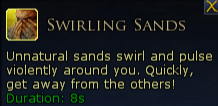
Anytime a play gets Swirling Sands you will want to stay away from the player to avoid the large percentage damage it deals.
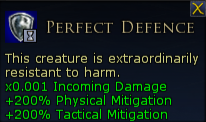
At 85% Pakhan-Gebar will gain Perfect Defence, stop attacking, and summons Molbasa the Untamed into the arena. During this time Pakhan-Gebar can still use Stampeding Dunes.
Pakhan-gebar, Servant of Stone
Pakhan-Gebar, Servant of Stone
Staff Strike: tactical (3.5m), standard targeting, deals Common damage.
Staff of the Sands {“Wind take you!”}: tactical (3.5m), standard targeting, deals Common damage.
Swirling Sands: tactical (60m), deals Common damage to a random player and applies Swirling Sands for 8s. On expiration Swirling Sands deals percentage (66%) Common damage to up to 6 players within 10m.
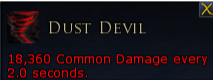
Sand Storms: causes a random player to begin dropping Dust Devil puddles at their location every few seconds.
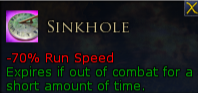
Whirling Dervish: applies Whirling Dervish to Pakhan-gebar for 8s, which deals a percentage (15%) Common damage up to 6 players within 5m of the caster every 1s for the duration.
Molbasa the Untamed
Sand Swipe: tactical (7m), deals Common damage to target.
Sand Blast: 3s Non-interruptible induction, deals increased Common damage to all players and pets within 10m of Molbasa. This is a tactical attack.
Burning Sands: tactical (60m), deals Common damage to target and creates a Burning Sands hotspot at the target’s location that lasts for 30s. Burning Sands deals moderate Fire damage initially and then deals Fire damage every 2s while in the hotspot.
Spear of the Sands: 3s Non-interruptible induction, deals moderate Common damage in a Line (1.5m wide by 19m long) in front of Molbasa pointed at their target. Pets can be damaged by this attack.
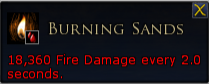
While fighting Molbasa, be aware of the area attack from Sand Blast, don’t stand in front to avoid the Spear of the Sands, and move out of the Burning Sands hotspot to reduce incoming damage. Avoiding the Stampeding Dunes remains the highest priority.
Once Molbasa is defeated Pakhan-Gebar will become active again, and typically will go right into a Whirling Dervish. This deals percentage damage repeatedly very quickly and can not be out ran without additional run speed buffs. As such tanks will want to use a cooldown or kite, and melee should wait until the skill is finished. Whirling Dervish can now be used off cooldown (45s) as long as Molbasa is not active.
At 40% Pakhan-Gebar will once again gain Perfect Defence and summon Molbasa back to the arena. This is a repeat of the earlier phase. Once Molbasa is defeated again Pakhan-Gebar becomes active for the final time and the fight progresses as before.
On Tier 2, the fight operates much the same as tier 1 but has a few small details to add challenge.
Sand Storms cooldown is reduced by -10s (now 50s)
Stampeding Dunes cooldown is reduced by -10s (now 65s)
Swirling Sands initial hit base damage increased by +66%
This does nothing to change the strategy for the fight.
On Tier 3 the fight continues to be conquered in the same way, but many skills are upgraded to higher damaging versions to add additional difficulty.
Staff Strike base damage increased by +14.28%
Staff of the Sands base damage increased by +50%
Whirling Dervish cooldown reduced by -15s (now 30s)
Sand Storms cooldown reduced by -15s (now 45s)
Stampeding Dunes cooldown reduced by -20s (now 55s)
Swirling Sands initial base damage increased by +100%
Sand Blast base damage increased by +50%
Burning Sands base damage increased by +100% and the hotspots last for 60s
Spear of the Sands base damage increased by +100%
These changes still do not change the overall strategy of the fight but it will make players take much higher damage and cause the fight to take longer, and with a few skills getting shorter cooldown will force interacting with the mechanics.
Council of Thieves
Gizûshu, Thief of Shadows
Melee attacker whose melee auto attacks deal Shadow damage.
Shadow Spear {“Panic take you.”}: tactical (3.5m), randomly targets a player in range, deals low Shadow damage.
Instilled Panic {“A ready companion.”}: tactical (100m), standard targeting, applies Instilled Panic (curable, Fear). Instilled Panic lasts for 8s and on expiration will stun the player for 6s.
Missing Tooltip
Summoning Shadows {“Shadows - to me!”, “Drown in shadows”}: tactical (100m), standard targeting, deals low shadow damage and summons a Grasping Shadow.
Gathering Shadows: 5s interruptible induction, deals massive Shadow damage to all players within 60m of Gizûshu. This is a tactical attack.
Grasping Shadow
Melee attacker whose melee auto attacks deal Shadow damage.
Grasping Claws: melee (50m), standard targeting, deals Shadow damage and applies Grasping Claws . Grasping Claws deals Shadow damage initially and then Shadow damage every 3s for 15s.
Missing Tooltip
Shadowy Visions: melee (50m), randomly targets any player or pet within range, deals moderate Shadow damage, applies Shadowy Visions for 15s, and heals the Grasping Shadow for 10% of its maximum morale. Shadowy Visions reduces tactical mitigations by -15%.
Missing Tooltip
Plunging Darkness: 3s Non-interruptible induction, deals high Shadow damage to all players and pets within 80m of the caster.
Giríshu, Thief of Blades
Melee attacker whose melee auto attacks deal Fire damage.
Blade Flurry {“I will rend your flesh!”}: melee (3.5m), targeted at a random player, deals increased Common damage.
Battering Blades {“My blades will find you” or ”I am an artist with these blades”}: standard targeting, deals low Common damage to all players in a Cone (5m, 90°). This is a melee attack.
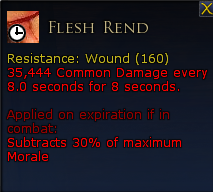
Flesh Rend {“I won't miss my mark.”}: melee (3.5m), standard targeting, deals low Common damage and applies Flesh Rend (curable, Wound) for 8s.
Flesh Rend deals Common damage initially and then after 8s deals an additional tick of Common damage. In addition, on expiration deals percentage (30%) Common damage.
Blade Storm: 5s interruptible induction, deals very high Common damage to all players within 60m of Giríshu. This is a melee attack.
Samâshu, Thief of Blight
Melee attacker whose melee auto attacks deal Acid damage.
Acidic Blade: melee (4m), standard targeting, deals low Acid damage.
Poisoned Blades {“Are you feeling… unwell?”}: melee (4m), targeted at a random player in range, deals increased Acid damage and applies Poisoned Blade (curable, Disease). Poisoned Blade deals Acid damage initially, and then Acid damage every 3s for 15s. In addition, on expiration will deal percentage (20%) Acid damage.
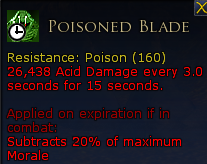
Spreading Plague {“Oops. Shouldn’t have dropped that.”}: tactical (4m), standard targeting, deals low Acid damage and applies Spreading Plague (curable, Disease) for 10s. On expiration, it deals percentage (20%) Acid damage and applies Spreading Plague to up to 6 players within 10m.
Missing Tooltip
Pestilent Spill {“Let the pestilence spread”}: creates a Pestilent Spill hotspot (~2m radius) at Samâshu’s location that lasts for 30s. Pestilent Spill hotspot deals Acid damage initially and then Acid damage every 4s.
Pestilent Apocalypse: 5s interruptible induction, creates a Pestilent Apocalypse hotspot (~20m radius) that lasts for 40s. Pestilent Apocalypse deals Acid damage initially and then Acid damage every 3s.
Missing Tooltip
Strategy
This fight is very reliant on understanding that all three bosses have an interruptible skill that, if allowed to go off, will either instantly wipe non-tanks or make everyone take significantly more damage. As such have each person focus on one of the targets to get the interrupts and AoE from there. In addition this fight is very reliant on curing the various afflictions that are applied as they are a main source of the damage taken.
The damage priority here doesn't really matter since as long as the interrupts are covered, and may come down to just removing mechanics which are annoying beyond anything else. Personally I opt to focus down Gizûshu, Thief of Shadows first for a few reasons; they have the least amount of morale of the three bosses and as such they are the fastest to be removed from the fight, they are the source of the Instilled Fear effect which stuns the tanks, and they summon in the Grasping Shadow enemy which will instantly despawn when Gizûshu is defeated. Samâshu, Thief of Blight is the first to cast their Pestilent Apocalypse at 30s, then Shadow casts Gathering Shadows at 40s, and lastly Blade Storm is used at 50s.
Bear in mind that while the Grasping Shadow may look relatively harmless, if they are allowed to persist for 35s after spawning they will be able to cast Plunging Darkness. Once the Grasping Shadow reaches this point it will be able to effectively repeatedly chain cast Plunging Darkness until defeated.
Alternatively, you could choose to fight near the entrance gate and completely ignore Samâshu, Thief of Blight until last. This works because the Pestilent Apocalypse hotspot has a static spawning location which will always leave a narrow strip of the arena outside of the hotspot and thus negates the mechanic completely.
On Tier 2, the fight only has one mechanical change and it has no change on the strategy.
Pestilent Apocalypse initial damage on entering the hotspot increased by +230%, and periodic damage while in the hotspot increased by +100%
On Tier 3 many of the skills get improved versions of themselves with higher base damage.
Flesh Rend initial hit base damage increased by +33% and the percentage damage dealt if the wound is not cured increased to 50%
Battering Blades base damage increased by +67%
Blade Storm base damage increased by +100%
Spreading Plague initial hit base damage increased by +67% and the percentage damage dealt to nearby players when the poison expires increased to 40%
Pestilent Spill hotspot duration increased to 80s, initial damage on entering the hotspot increased by +200%, and periodic damage while in the hotspot increased by +200%
Acidic Blade base damage increased by +33%
Pestilent Apocalypse initial damage on entering the hotspot increased by +400%, and periodic damage while in the hotspot increased by +400%
Gathering Shadows base damage increased by +150%
Plunging Darkness base damage increased by +167%
The overall strategy doesn’t change much, especially if the group has high damage as the biggest threat outside of the three main ‘must-interrupt’ mechanics is the Grasping Shadow. Once the Grasping Shadow spawns switch dps to it and you want to defeat it before it is active for 39s as after that point is when Plunging Darkness would go off and it is likely a 1-shot to all non-tanks. If you have the damage to directly defeat the Gizûshu, Thief of Shadows before that point then you would remove both it and the Grasping Shadow from the fight at the same time. Once Thief of Shadows is off the field then the fight becomes less of a damage check and as long as effects are cured and interrupts are covered the fight should be an easy one.
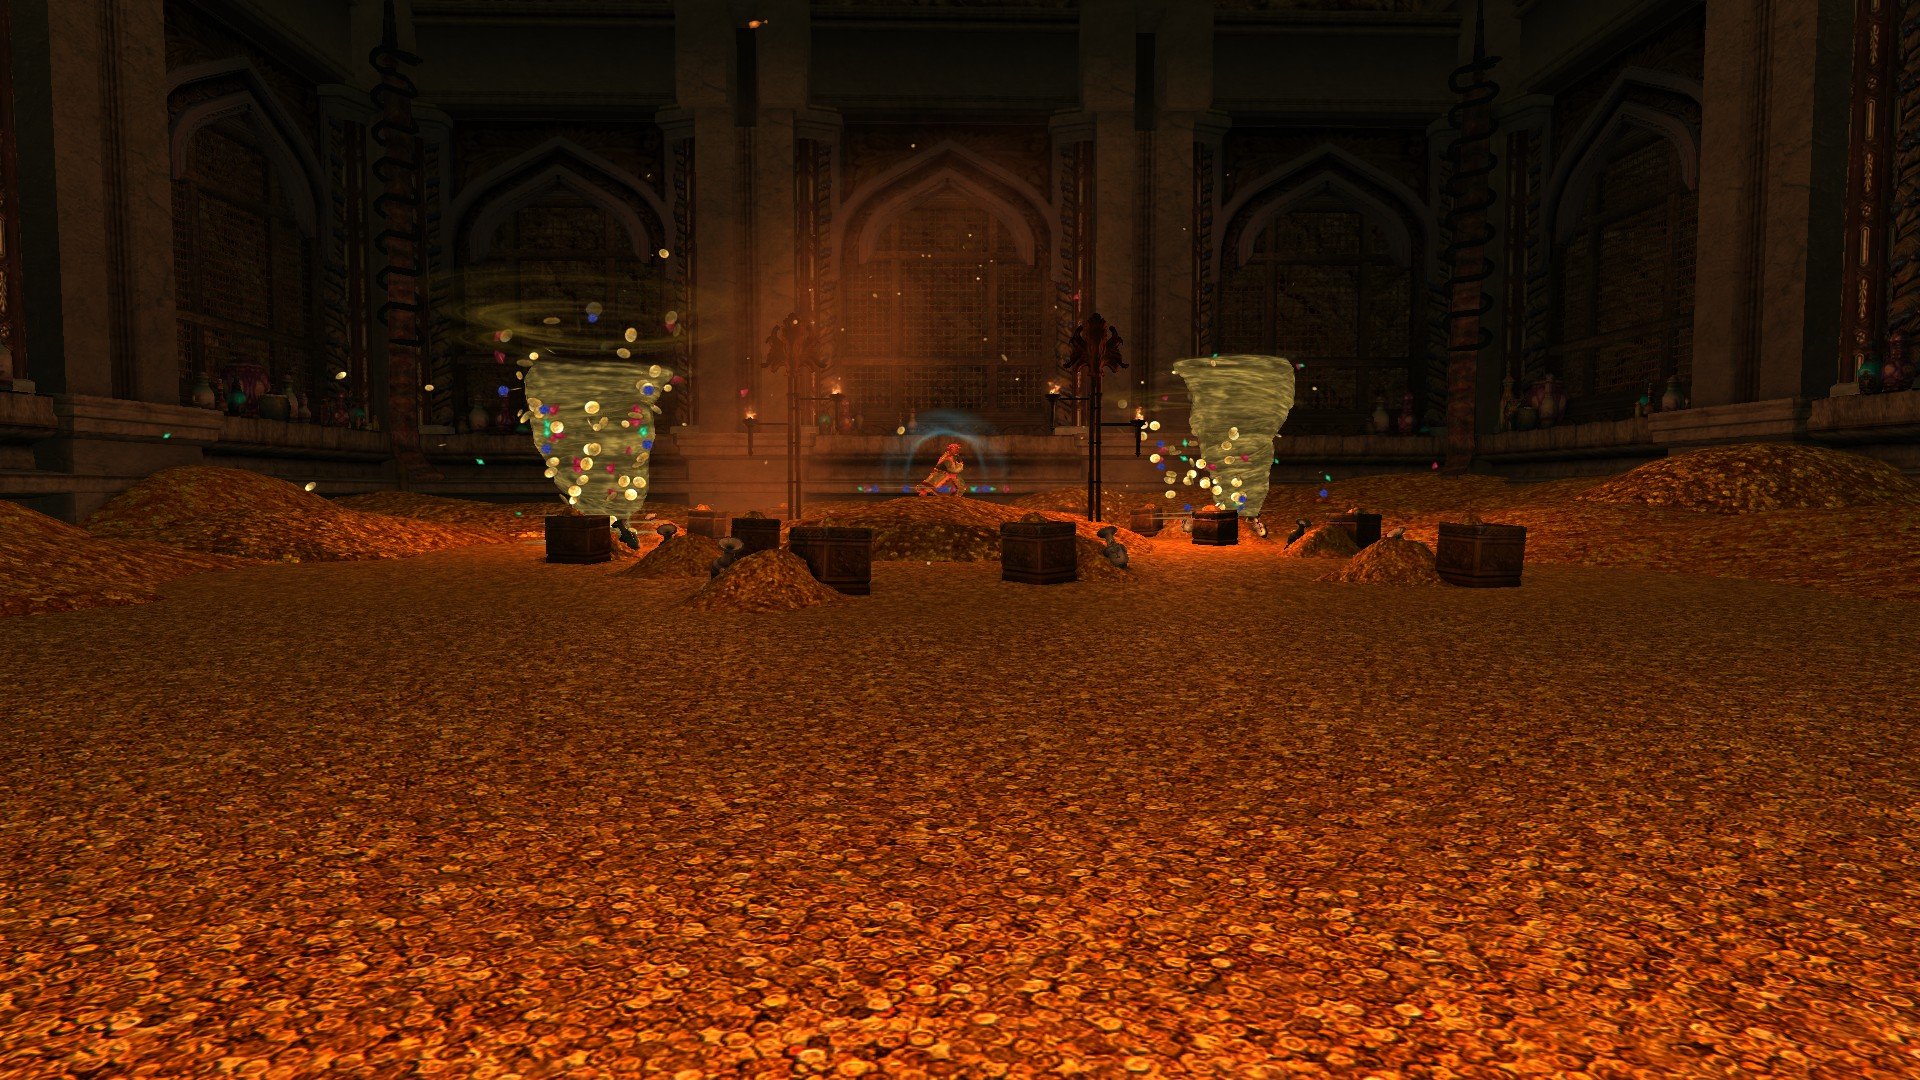
In order to stop these inductions you need to successfully bury the smaller treasure piles around the mountain of gold, and after you have buried 5 of the piles the boss will run back into the main room and the treasure phase will end. To make matters difficult there are three Torrents of Gold which will circle around through the smaller treasure piles, and on contacting a player will deal a small amount of damage and punt them away, interrupting the burying induction.
The boss moves significantly faster than players and as soon as they enter the main room all players not already in the main room are teleported to just inside the gate that you entered from. During this time the boss will often reset its aggro so the tank will need to reacquire the boss after each phase.
After the first Treasure Phase the Bârlat will begin using Shower of Jewels. Quickly identify who is being chased by these puddles and have that player kite away for ~15s. These puddles will remain for 20s so be mindful of where the kiting is happening so that no one inadvertently runs through a nest of them. Once Bârlat reaches 60% moral the second Treasure Phase will start.
After the second Treasure Phase the boss will begin using Gold Pile. The targeted player will show a small red square around them which designates the area of effect in which the damage is distributed so the targeted player should try and share the damage with at least one other player to avoid a 1-shot.
It is possible to be the target of Gold Pile while also the target of Shower of Jewels, which is unfortunate as there is very little you can do about that if there are no other players around you.
At 40% boss moral the final Treasure Phase will start.
Once the final Treasure Phase is completed there are no new mechanics added and it is just a matter of finishing out the fight while enduring any accumulated Power of Gold stacks and before the Growing Greed enrage timer ends.
Bârlat the Bold
Bârlat the Bold
Melee attacker who’s auto attacks deal Fire damage.
Gold Strike: melee (4m), standard targeting, deals increased Common damage.
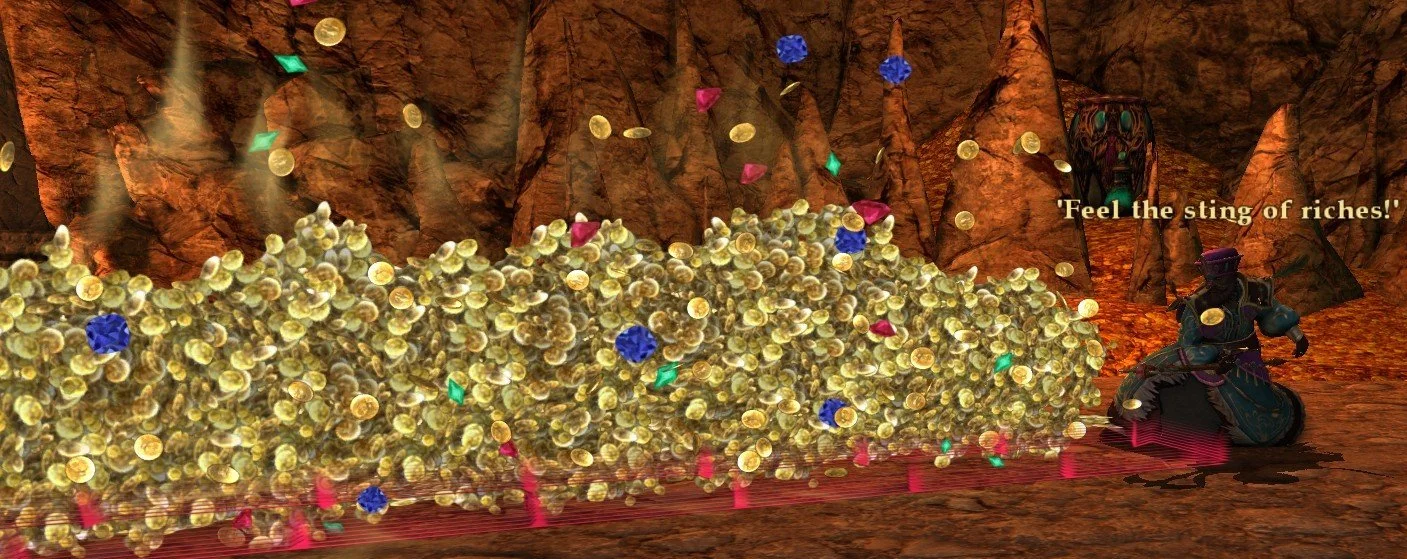
Fissure of Wealth {“Feel the sting of riches!”}: 2.5s Non-interruptible induction, targets a random player, deals high Common damage to all players in a Line (1m wide by 12m long). This is a melee attack.
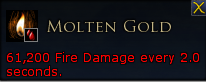
Molten Gold {“Melt it Down!”}: tactical attack targeting a random player within 100m of Barlat. Does not deal any damage but creates a Molten Gold hotspot at the player’s location that lasts for 120s. Molten Gold deals Fire damage initially and then Fire damage every 2s.
The location of this hotspot is locked in when the skill is cast, so you can move after the boss calls out the attack and the hotspot will appear at your previous location; allowing you to be out of the puddle before it even appears.
Shower of Jewels {“You won’t escape with my treasure!”}: This skill will target a random player, however more often than not it will target the player that was targeted in boss 1 with the skill Sand Storm. Once the player is targeted they will begin dropping small hotspots (‘mines’) about every .5s for 15s. The first mine will always drop at Bârlat’s location and then start tracking after the targeted player.
The mines created will remain active for 20s and when a player enters the area of effect each will deal Common damage.
Gold Pile {“You want my treasure so badly - drown in it!”}: 3s Non-interruptible induction, targets a random player, dealing very high Common damage to all players within 2.2m of the target. This is a melee attack that is Distributed.
Strategy
Bârlat begins this fight with a buff called Growing Greed, which acts as an enrage timer. Start with just picking up the boss and dodging their Fissure of Wealth line attack and move out of any Molten Gold puddles that are created. Ideally position yourselves so that the Molten Gold puddle isn't dropped near the gate you entered in from as that is where you’ll be teleported to after the treasure phases. Once Bârlat reaches 80% moral they will become unattackable and run to the adjacent room; this starts the Treasure Phase.
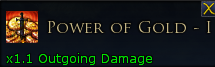
Each Treasure Phase has the boss standing on a mountain of gold with smaller piles of treasure circled around him. The whole time during this phase the boss will induct an 8s non-interruptible induction called Curse of Greed, which if completed will grant him a stack of Power of Gold, multiplying his damage by x1.1 for the remainder of the fight. Power of Gold Stacks do not scale lineary as at 6 stacks the damage buff ramps up to x1.7, then x1.9/x2.1/x2.5/x5.
On Tier 2, the fight tunes up the mechanical change during the Treasure Phase to cause more stacks of Power of Gold to build.
Shower of Jewels base damage of the mine increased by +100%, and Bârlat can use it 5s faster (10s initial cooldown) after the first Treasure Phase ends, as well as the cooldown of Shower of Jewels is reduced by -10s (now 40s)
The induction for Curse of Greed is reduced by -1s (now 7s).
You must bury 7 of the small treasure piles to finish the phase
There is a fourth Torrent of Gold to impede the burying process. This additional Torrent does not move with the same mannerisms as the original three, instead seeming to only move back and forth in a ~270° arc along the backside of the cavern.
There is no change to the strategy as a whole, but going into the Treasure Phases with a plan to efficiently bury the 7 treasures is helpful.
On Tier 3 many of the skills get improved versions of themselves with higher base damage.
Gold Strike base damage increased by +50%
Fissure of Wealth base damage increased by +50%
Molten Gold cooldown reduced by -30s (now 30s), hotspot duration increased to 1200s, Initial damage on entering the hotspot increased by +100%, and periodic damage while within the hotspot increased by +50%
Shower of Jewels base damage of the mine increased by +300%, and Bârlat can use it 10s faster (5s initial cooldown) after the first Treasure Phase ends, as well as the cooldown of Shower of Jewels is reduced by -20s (now 30s)
Gold Pile base damage increased by +100%
The induction for Curse of Greed is reduced by -2s (now s).
You must bury all of the small treasure piles to finish the phase
Gathering Shadows base damage increased by +150%
Plunging Darkness base damage increased by +167%
While these changes do not fundamentally change the fight, it does greatly reduce the margin of error tolerated. With the Molten Gold hotspots lasting the entire fight and happening more often positioning them so that they are out of the way is a bit more of a priority.
When possible bring Bârlat to the wall opposite the doorway into the Treasure room and try and time at least one of the damage dealers to start running as Bârlat’s morale nears one of the breakpoints so that you can get the maximum amount of time burying treasures as the boss has to run across the arena to begin their Curse of Greed induction. Run speed buffs are great for this time as well.
In addition during the Treasure phases, strive to only allow 1-2 stacks of Power of Greed per phase as once that damage buff starts to ramp up it can very quickly result in a wipe.
Once the fight progresses into the final phase take stock of what revival resources you have at hand as allowing a single player to take the undistributed Gold Pile hit and then revive them may be a smarter play than to try and actually distribute the hit, possibly defeating multiple players.