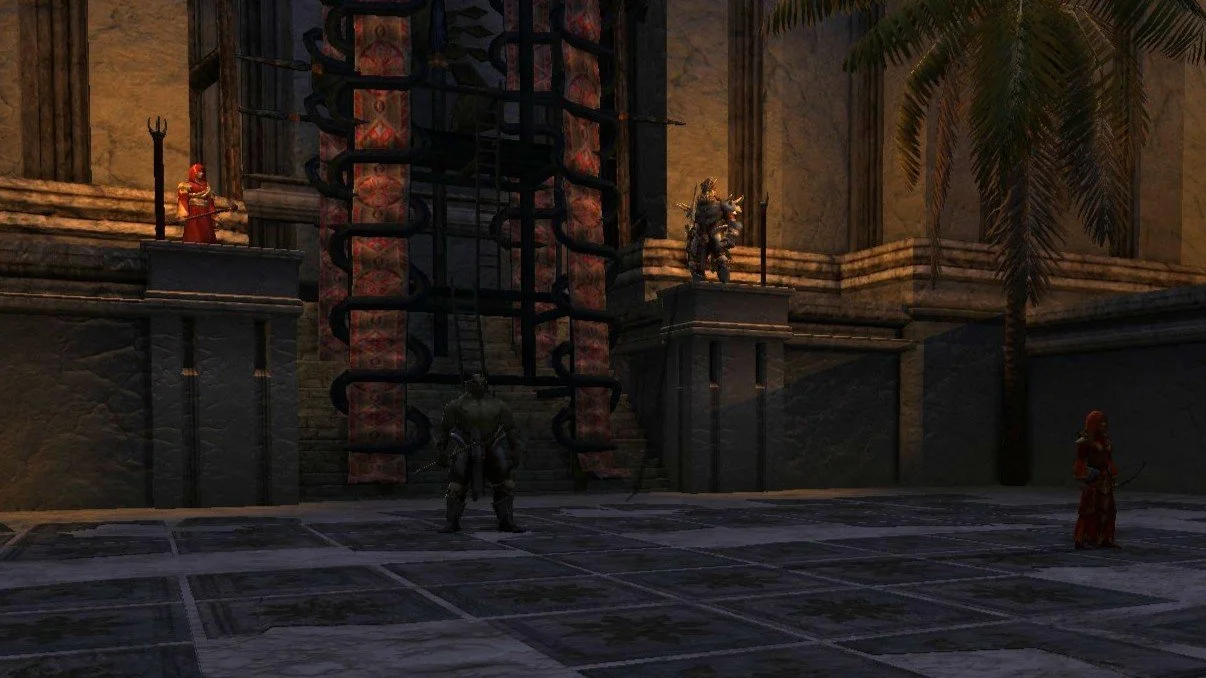
Koth Rau, the Wailing HolD
Overlooking Damudûr, Kôth Rau serves as stronghold for those who wish to subjugate the peoples of An Shêru. Faeron and Rhadrog have tasked you with entering this stronghold and defeating the sorceress Ombátha and the cruel Utûgi leader, Râkdakul. The hope is that with the defeat of these cruel masters, it will break the hold on those under their influence.
Non-Boss Enemies
Orc Berserker
Melee attacker whose melee auto attacks deal Common damage.
Armour Smash: melee (3.5m), standard targeting, deals moderate Common damage and applies Smashed Armour (curable, Wound) for 30s. Smashed Armour reduces physical mitigation by -20%.
Missing Tooltip
Cleaving Strike: melee, standard targeting, deals Common damage to all players in a Cone (5m, 90°).
Jagged Cut: melee, standard targeting, deals Common damage to all players in a Cone (4.5m, 120°) and applies Jagged Cut (curable, Wound) for 6s, which deals Common damage every 1s.
Missing Tooltip
(T3) Jagged Cut base damage increased by +57% and the Jagged Cut damage over time base damage increased by +66% and lasts for 10s.
Orc Archer
Ranged attacker that can be Enraged into melee. All auto attacks deal Common damage; all ranged auto attacks have a range of 30m.
Poisoned Dart: ranged (50m), targets a random player within range, deals very low Acid damage to the target and applies Weeping Poison (curable, Poison). Weeping Poison deals Acid damage every 2s for 10s.
Missing Tooltip
(T3) Poisoned Dart initial hit base damage increased by +800%
Orc Captain
Melee attacker whose melee auto attacks deal Common damage.
Blistering Derision: 3s interruptible induction, heals up to 50 mobs for 61205 morale.
(T2) Blistering Derision heal magnitude increased by +400%
Ordâkhai Look-out
Ranged attacker that can be Enraged into melee. All auto attacks deal Common damage; all ranged auto attacks have a range of 30m.
Piercing Arrow: ranged (80m), standard targeting, deals Fire damage to the target and applies Piercing Arrow (curable, Wound). Piercing Arrow deals Common damage every 4s for 20s.
Missing Tooltip
Called Target: Melee (120m), standard targeting, deals no damage but will apply Fixated to the target for 8s.
Powerful Shot: 1s non-interruptible induction, deals Common damage to all players in a Line (1m wide by 30m long) directed at a Fixated target.
Note, there are two versions of Ordâkhai Look-out enemy. Once version only has the Piercing Arrow skill, while the other version only has Called Target and Powerful Shot.
(T2) Powerful Shot base damage increased by +33%
(T3) Piercing Arrow initial hit base damage increased by +133% and the Piercing Arrow effect is no longer curable and deals Common damage every 2s for 8s.
(T3) Powerful Shot base damage increased by +66%
Ordâkhai Warrior
Melee attacker whose melee auto attacks deal Common damage.
Armour Smash: melee (3.5m), standard targeting, deals moderate Common damage and applies Smashed Armour (curable, Wound) for 30s. Smashed Armour reduces physical mitigation by -20%.
Missing Tooltip
Cleaving Strike: Area of Effect (Cone, 5m, 90°), deals Common damage. This is a melee attack that does not affect pets.
Ordâkhai Sorcerer
Some of the auto attacks of these enemies are all frontals (Cone, 7m, 120°) directed at whoever is highest on their threat table. The rest of the auto attacks are single target (tactical, 25m) focused at their aggro target and these attacks can be barred from use with Enrage effects. All auto attacks deal Frost damage.
Word of Frost: tactical (40m), standard targeting, deals Frost damage
(T2) Consuming Shadow: melee (80m), targets a random player within range, deals Shadow damage and creates a Consuming Shadow hotspot (~2m radius) at the target. Consuming Shadow hotspot lasts for 3s and after which it deals lethal Shadow damage to all players within the area
(T2) Weak Ordakhai Blessing: 3s interruptible induction, applies Lesser Memory of Triumph-2 to nearby ally for 20s, which grants +20% outgoing damage.
Missing Tooltip
(T2) Draining Strike: tactical (40m), standard targeting, deal very low Acid damage and an additional instance of percentage (3%) Acid damage to the target while healing the Sorcerer for a percentage (3%) of their maximum morale
(T2) Shadow Burst: tactical (40m), standard targeting, deals moderate Shadow damage in an area of effect (3.5m) centered on the target. The damage of this attack is Distributed.
(T3) Consuming Shadow is cast a second time at a different random player immediately after the first cast. This creates a second Consuming Shadow hotspot that you will need to avoid.
Ordâkhai Sorceress
Some of the auto attacks of these enemies are all frontals (Cone, 7m, 120°), dealing Frost damage and are directed at whoever is highest on their threat table. There is a second set of auto attacks that are single target (tactical, 25m), dealing Frost damage, have standard targeting, and these attacks can be barred from use with Enrage effects. In addition this enemy has a third set of auto attacks (tactical, 3m) which deal Shadow damage.
Boil Blood!: 2s Non-interruptible induction, deals very low Fire damage to all players within 60m of the caster and applies Boiling Blood!. Boiling Blood deals Common damage every 2s for 10s.
Missing Tooltip
(T2) Boil Blood! Initial hit base damage increased by +100%
(T3) Boiling Blood, on expiration, will create a Festering Boiling Blood hotspot (~2.5m radius) for 45s.
Utûgi Destroyer
Melee attacker whose melee auto attacks deal Common damage.
Cleaving Strike: Area of Effect (Cone, 4.5m, 120°), deals Common damage. This is a melee attack that does not affect pets.
Utûgi Obliterator
Ranged attacker that can be Enraged into melee. All auto attacks deal Common damage; all ranged auto attacks have a range of 30m.
Blessing of the Mushid: applies Blessing of the Mushid (corruption), which multiplies outgoing damage by x1.25. This effect can stack.
Missing Tooltip
(T2) Blessing of the Mushid corruption now tiers up, starting at x1.05 magnitude and increasing with subsequent tiers (x1.15, x1.3,x1.75,x3)
Missing Tooltip
Utûgi Slaughterer
Melee attacker whose melee auto attacks deal Common damage. This enemy also has a set of melee auto attacks that deal Common damage in an Area of Effect (Cone, 3m, 120°) directed at their aggro target.
Harsh Call: 5s interruptible induction, deals Common damage to all players within 10m of the caster.
(T2) Harsh Call induction reduced by -2s (3s induction) and base damage increased by +50%
(T3) Harsh call induction reduced by -3s (2s induction) and base damage increased by +250%
Gáthtrag Gloomhammer and Rátinur
Gáthrag Gloomhammer
Melee attacker whose melee auto attacks deal Common damage in an Area of Effect (Cone, 3m, 120°) directed at their aggro target.
Circle of Rage {“Nowhere is safe.”}: Creates a totem hotspot (~2.5m radius, 20s duration) at Gáthrag’s location that grants Aura of the Strength to any enemy within the hotspot. Aura of the Strength multiplies outgoing damage by x1.15 and gives +5% run speed.
Missing Tooltip
Harsh Call {“How unfortunate.”}: 5s interruptible induction, deals Common damage to all players within 10m of the caster. This attack also sends out a 7m radius pulse that deals no damage but affects other monsters, removing Wrath if present.
Fury: grants Gáthrag the Fury buff, which has permanent duration and multiplies outgoing damage by x1.15, multiplies incoming damage by x0.75 and gives +5% run speed. This skill has a 40s delay before it is first applied and a 40s cooldown.
Missing Tooltip
Smashed Bones {“Ah, a worthy target.”}: melee (8m), standard targeting, deals Common damage and applies Smashed Bones-1 (curable, Wound). Smashed Bones deals Common damage every 3s for 30s. This effect can stack up to 5 times, refreshing the duration and increasing in damage with each stack.
Missing Tooltip
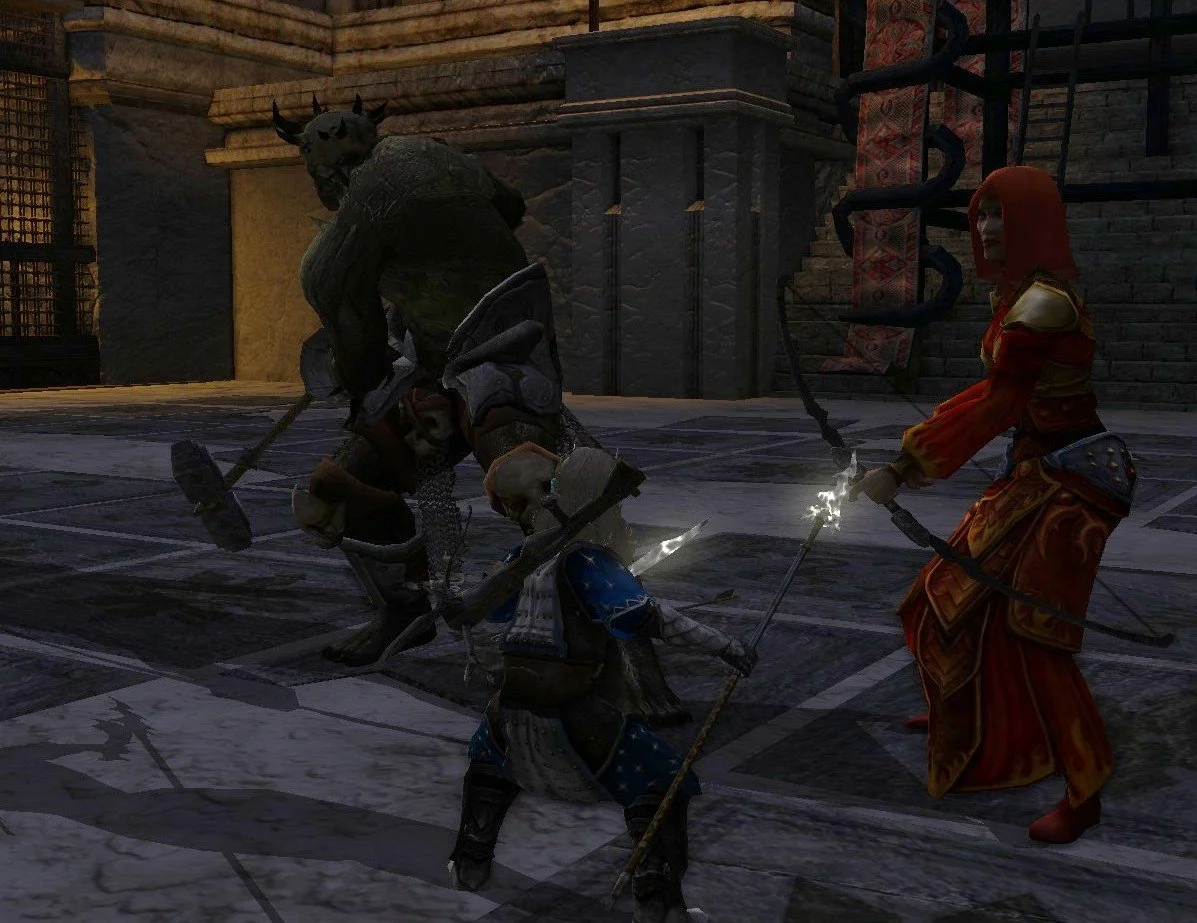
Rátinur
Stationary enemy with ranged auto attacks (30m range) that deal Common damage.
Call Target {“My quarry!”}: Melee (120m), standard targeting, deals no damage but will apply Fixated to the target for 8s.
Missing Tooltip
Powerful Shot {“Find flesh!”}: 1s non-interruptible induction, deals Common damage to all players in a Line (1m wide by 30m long) directed at a Fixated target. This attack will also hit other monsters within the Area of Effect and it will remove the Fury buff if present.
Rain of Arrows {“There is no cover.”}: 4s interruptible induction, deals Common damage to all players within 40m.
Volley: ranged (40m), targets a random player that is not Fixated, creates a Volley hotspot at the player’s location which after a short delay deals Common damage to all players within the area of effect, then after 5s a second Volley hotspot is created at the player’s location again.
Wrath: grants Rátinur the Wrath buff, which has permanent duration and multiplies outgoing damage by x1.15, multiplies incoming damage by x0.75 and gives +5% run speed. This skill has a 37s delay before it is first applied and a 60s cooldown.
Missing Tooltip
Strategy
There are 4 major mechanics that are key to this fight, and while they can ignored for the most part on lower tiers they become significantly more important to master as the difficulty increases.
The Circle of Rage totems, which can buff both bosses if they are within the radius. Thus keeping Gáthrag far enough away from Rátinur to keep the later out of the totems, but close enough to be able to hit with area of effect skills.
Rátinur’s Powerful Shot line attack deals a lot of damage to non-tank players and such non-tank players should never stand between the tank and Rátinur.
Rátinur’s Rain of Arrows induction deals a lot of damage and should be interrupted to avoid it.
Understanding the Fury and Wrath mechanics, and knowing how to remove them so that the bosses deal less damage and take full damage.
Fury, granted to Gáthrag, is only removed by causing Gáthrag to be hit by Rátinur’s Powerful Shot line attack.
Wrath, granted to Rátinur, is only removed by allowing Gáthrag’s Harsh Call induction to complete.
To accomplish this, position the group as such so that the tank always keeps Gáthrag between themself and Rátinur, and ideally within 7m of Rátinur. Then as Circle of Rage totems are created, move Gáthrag out of the totem and reset the tank position on the outside of the ring. Have one player either keep an eye on Rátinur or simply just attack them the entire time and cover the Rain of Arrows inductions. This is best done with an Offensive Support player but can be covered via a healer if they have enough finesse to ensure the interrupt doesn’t get avoided/resisted. The remaining players either stack up on one side of Gathrag (leaving one side open for the tank to move the boss out of totems) or behind Rátinur if they are ranged. Ignore the Volley puddles as the damage is minimal and not worth moving out of.
Lastly, when Rátinur has the Wrath buff let Gáthrag’s Harsh Call induction go off. Especially if you can time this to happen right before Gáthrag is defeated so that you have as much timer as possible when you swap to Rátinur before Wrath gets reapplied.
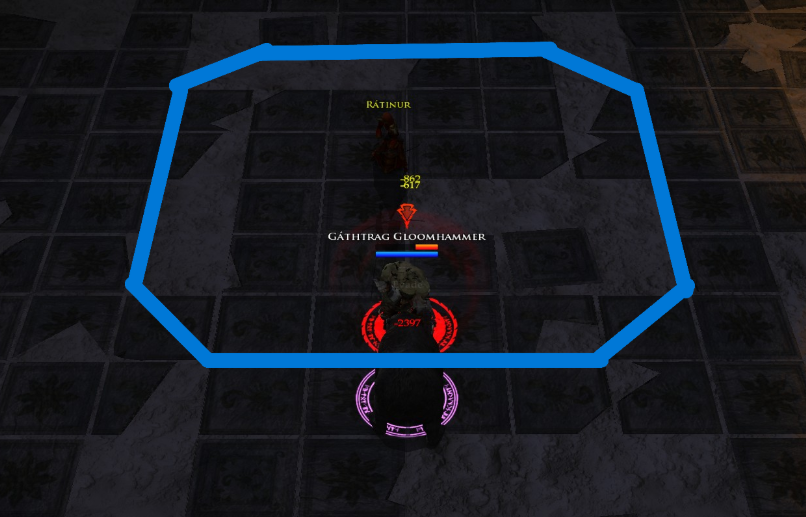
(blue line designated how far you can be to still effect Rátinur with Harsh Call)
Once Gáthrag is down just collapse on Rátinur with care to position the tank on one side of the boss and everyone else behind and interrupt Rain of Arrows.
On Tier 2 there are no additional mechanics, but many of the skills gain additional damage and effects increase in magnitude. This shouldn’t require any change in strategy, but it does reduce the margin of error as the damage can quickly ramp if multiple effects are allowed to stack.
Circle of Rage totem duration increases to 40s and increases the magnitude of Aura of the Strength to multiply outgoing damage by x1.5 and gives +25% run speed.
Missing Tooltip
Harsh Call induction reduced by -2s (3s induction) and base damage increased by +40%
Smashed Bones initial hit base damage increased by +16% and will apply two stacked Smashed Bones Wounds.
Fury magnitude increased to multiply outgoing damage by x1.5 and the run speed buff increased to +25%.
Missing Tooltip
Powerful Shot base damage increased by +156%
Rain of Arrows base damage increased by +100%
Volley initial hotspot base damage increased by +50%
Wrath magnitude increased to multiply outgoing damage by x1.5 and the run speed buff increased to +25%.
Missing Tooltip
On Tier 3 there are no additional mechanics, but many of the skills gain additional damage and effects increase in magnitude. This shouldn’t require any change in strategy, but it is no longer viable to ignore mechanics and engaging with the fight rather than just brute forcing.
Circle of Rage totem duration increases to 300s and increases the magnitude of Aura of the Strength to multiply outgoing damage by x1.5 and gives +25% run speed.
Missing Tooltip
Harsh Call induction reduced by -3s (2s induction) and base damage increased by +100%
Smashed Bones initial hit base damage increased by +250%
Fury magnitude increased to multiply outgoing damage by x2, multiplies incoming damage by x0.5, and the run speed buff increased to +30%.
Missing Tooltip
Powerful Shot base damage increased by +286%
Rain of Arrows induction reduced by -1s (3s induction) and base damage increased by +100%
Volley initial hotspot base damage increased by +300%
Wrath magnitude increased to multiply outgoing damage by x2, multiplies incoming damage by x0.5, and the run speed buff increased to +30%.
Missing Tooltip
Sorceress Ombátha
Sorceress Ombátha
Some of the auto attacks of these enemies are all frontals (Cone, 7m, 120°), dealing Frost damage and are directed at whoever is highest on their threat table. There is a second set of auto attacks that are single target (tactical, 25m), dealing Frost damage, have standard targeting, and these attacks can be barred from use with Enrage effects. In addition this enemy has a third set of auto attacks (tactical, 3m) which deal Shadow damage.
Burning Blood {“Bleed for me!”, “Bleed”}: targets random player other than current aggro target, and applies Smouldering Blood for 5s. Smouldering Blood deals no damage but on expiration will create a Scorching Burning Blood puddle at the player’s location for 20s, then 5s later will create a second Scorching Burning Blood puddle at the player’s location. Scorching Burning Blood deals Common damage every 1s
Missing Tooltip
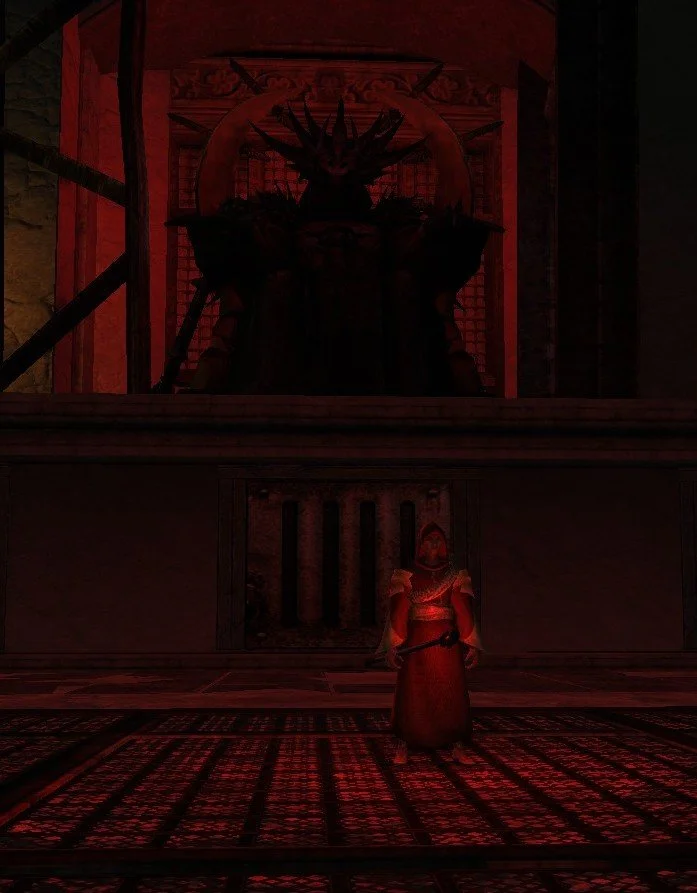
Strategy
On the fight start the tank picks up the boss and everyone else stacks behind the boss. When a player gets Smouldering Blood from the Burning Blood skill, have that player move away from the group while everyone else moves out of the Scorching Burning Blood puddle. Try and tank the boss right in the middle of the room so that during Fountain of Blood the melee classes can still reach the boss from a safe quadrant.
Once the Fountain of Blood channel starts and the first quadrant is shown, have the group move to the side Counter-Clockwise to that initial puddle, and then move into where the initial puddle was once it despawns.
Boil Blood! {“Yes”, “Now!”}: tactical, deals very low Fire damage and applies Boiling Blood to all players with 40m of caster, which deals Common damage every 2s for 10s.
Missing Tooltip
Fountains of Blood {“Blood shall rise.”, “Blood come forth.”}: This is a channeled ability where the boss will summon a large puddle that encompasses a quarter of the room. Standing in this puddle deals damage over time. After a few seconds a second puddle will be created in the next corner quadrant, rotating clockwise from the starting position. There will be time where there will be two of these large puddles active but they should start to disappear before the room is completely covered. In addition, at the end of the Fountain of Blood channel, deals a burst of Common damage to the entire arena. This is a ranged attack.
On Tier 2 the strategy will change quite significantly as the fight evolves from a simple ‘stand in the middle of the room’ fight into a puddle management and movement fight.
Boiling Blood on expiration creates a Festering Boiling Blood hotspot (~2.5m radius) that lasts for 45s, dealing Common damage every 2s.
Missing Tooltip
Smouldering Blood hotspot duration increased to 120s and base damage increased by +100%.
Fountains of Blood expiration damage burst base damage increased by +50%,
Wretched Spirits will spawn in waves of 2 each (east and west doors). These spirits appear to be on a timer and will continue spawning the remainder of the fight roughly every ~30s
A second casting of Blood Boil becomes useable after 8m40. This acts as a soft enrage to the fight as Ombátha would be able to create twice as many Festering Boiling Blood hotspots after this point.
These changes will cause every player to be dropping the Festering Boiling Blood hotspots which will quickly clutter the arena if not managed strategically. To accomplish this, pull Ombátha over to one of the walls at the start of the fight with group slightly spread out. Once Burning Blood is cast the affected player should stand still to cause both of the Scorching Burning Blood puddles to be stacked (the player will need heals during this), then once Boiling Blood is applied to the group have all players stack in the same location. This will cause all of the Festering Boiling Blood hotspots to be stacked and players should have a few seconds to quickly move out of the stacked puddles before any damage ticks. Quickly move to the middle of the arena before the Fountain of Blood cast to allow melee players access to the boss during that mechanic.
When the Wretched Spirits begin spawning the tank should establish threat and keep them grouped with Ombátha. These should be able to be simply cleaved down while focusing on Ombátha, but if your composition is mostly single target then focus the Wretched Spirits. As long as the Wretched Spirits are being defeated before they are able to use their Self Immolation skill
Repeat the movement pattern of moving to the edge of the arena when the group has Boiling Blood and then moving back to the middle for Fountain of Blood. Try and keep any hotspots out of the middle of the arena to make positioning easier.
Wretched Spirit
Attacks in melee range dealing Shadow damage.
Rending Blow: melee (3m), standard targeting, deals Shadow damage and applies Crushed Armour for 10s. Crushed Armour reduces mitigations by -5%.
Missing Tooltip
Self Immolation: 3s non-interruptible induction, deals Shadow damage to all players within 40m of caster and destroys the caster. This skill can only be cast if the Wretched Spirit has been active for more than 60s.
On Tier 3 there are no additional mechanics, but some skills gain improved damage and the Wretched Spirit’s become more of a threat.
Smouldering Blood hotspot duration increased to 300s and base damage increased by +200%.
Boiling Blood on expiration creates a Festering Boiling Blood hotspot (~2.5m radius) that lasts for 45s, dealing Common damage every 2s.
Fountains of Blood expiration damage burst base damage increased by +150%,
Wretched Spirit’s Rending Blow base damage increased by +50%, Crushed Armour duration increased by +5s (15s duration), and magnitude increased to -10% mitigations.
Missing Tooltip
Wretched Spirit’s Self Immolation base damage increased by +200% and initial cooldown to use the skill reduced to 30s.
The strategy remains the same as on Tier 2 but the Wretched Spirits are a much bigger threat. As such they need to be focused down as fast as possible as they can now cast Self Immolation after only 30s. This adds an increased damage check to the fight that is not present on lower tiers.
Râkdakul
Râkdakul
Melee attacker whose melee auto attacks deal Common damage in an Area of Effect (Cone, 3m, 120°) directed at their aggro target.
Defender’s Strike {“That one!”, “A worthy target!”): 1s non-interruptible induction, deals Common damage to all players in a Line (2.5m wide by 30m long).
Powerful Shout: {“Closer”, “Come closer.”}: 3s interruptible induction, deals Common damage to all players within 40m of caster and applies Cacophony (curable, Wound) for 20s. Cacophony deals Common damage every 2s.
Missing Tooltip
Smashed Bones: melee (8m), standard targeting, deals Common damage and applies Smashed Bones. Smashed Bones deals Common damage every 3s for 30s. This effect can stack up to 5 times, refreshing the duration and increasing in damage with each stack.
Missing Tooltip
Shelter {“Let it rain!”, “Rain down upon you!”}: tactical (40m), targets a random player within range that isn't the current aggro target. Deals very low Shadow damage and applies Calamitous Shelter for 6s. On expiration creates a Calamity Shelter hotspot (~3m radius, lasts for 12s).
Missing Tooltip
Calamity: 10s channeled effect, every 2s deals Fire damage to all players within 60m of Rakdakul. Players within a Calamity Shelter hotspot are immune to this damage.
Missing Tooltip
Strategy
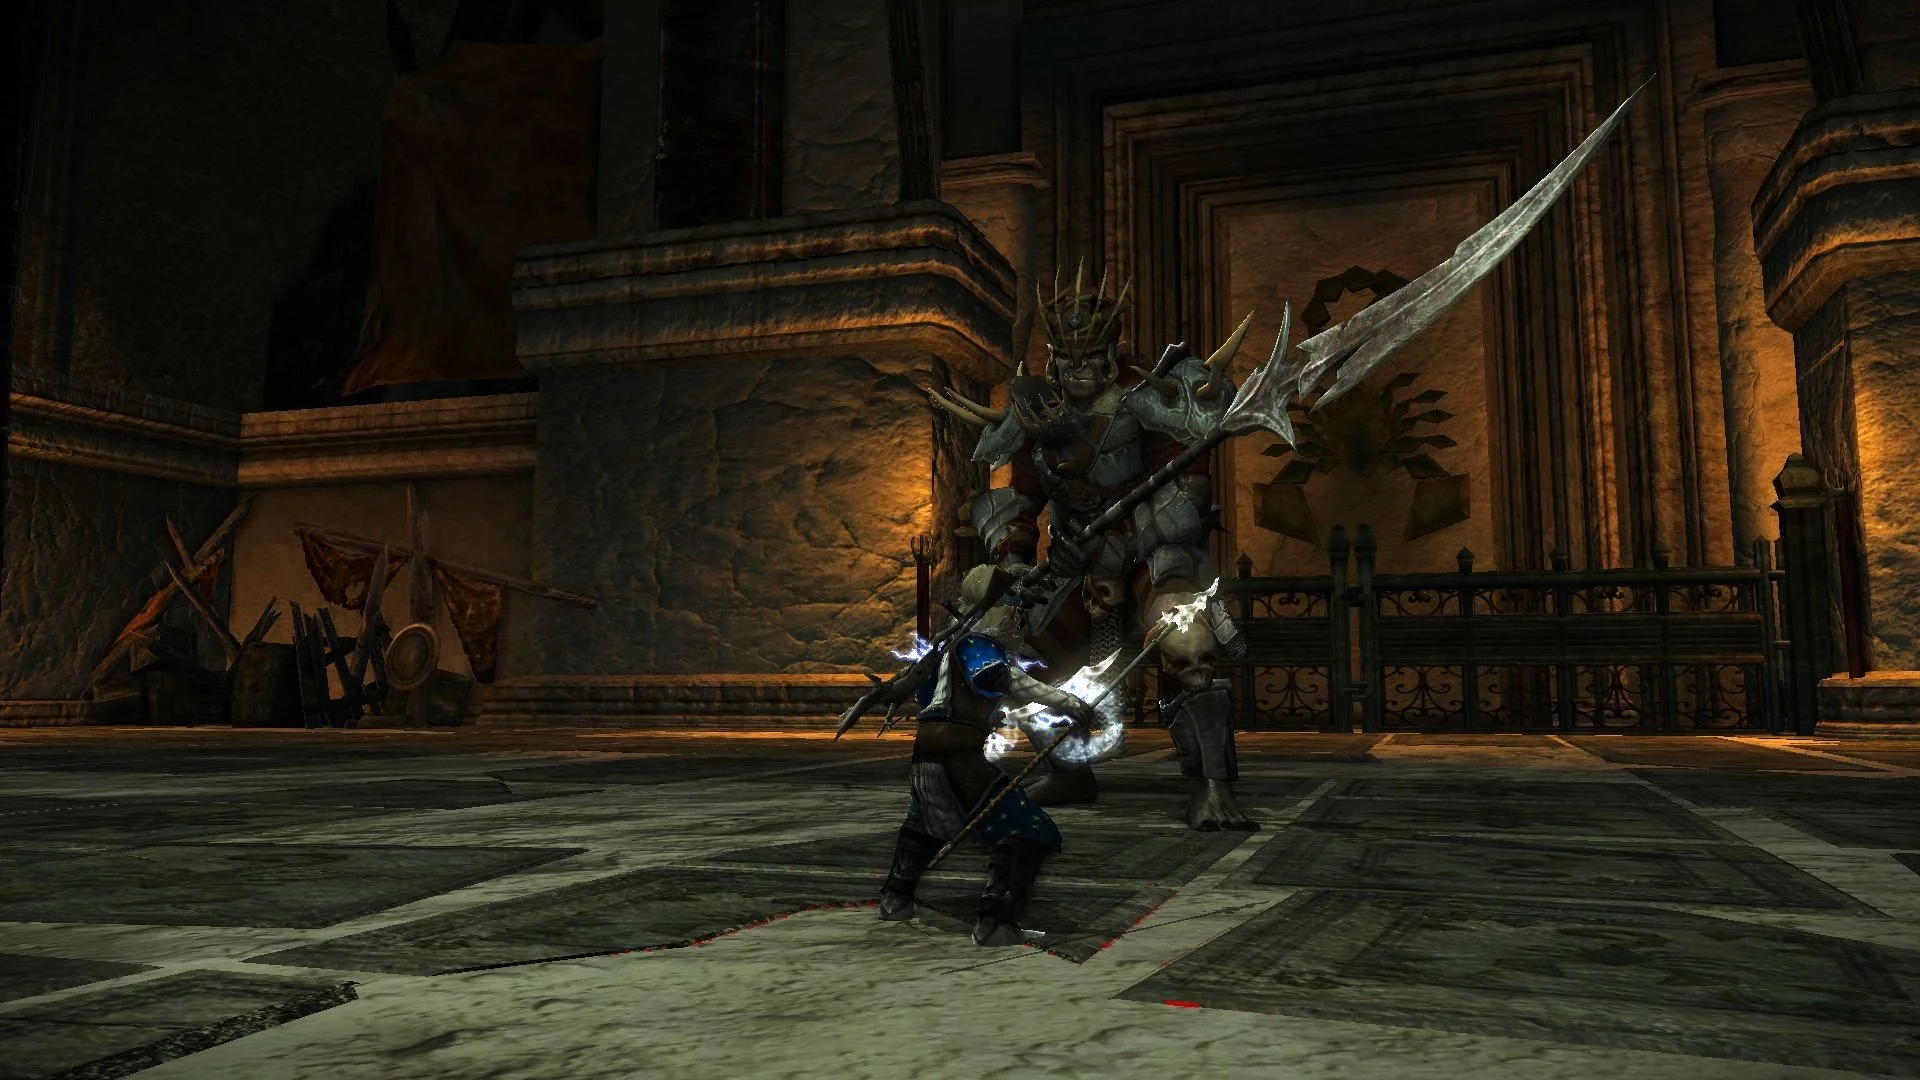
On the fight start the boss will stand still for a second or two, but once the boss starts moving have the tank pick them up and move them to the south gate. When Râkdakul reaches 90% morale a wave of two Ordâkhai Sorceress and an Orc Berserker will spawn at the south gate.
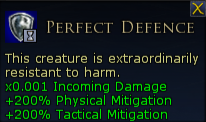
While there are additional enemies in the arena Râkdakul gains Perfect Defense, becoming effectively immune to damage.
The tank needs to be very mindful of where they are positioning both the boss and all of the adds as most of the enemies in the fight have auto attacks that are frontals. Try and position yourself so that no one is in danger of getting clipped by the Defensive Strike line attack.
Interrupting Powerful Shout will greatly reduce the damage the group takes, but if the casting goes off then removing the Cacophony wound should be a priority.
When Shelter is cast, the player with the Calamitous Shelter effect should move towards Râkdakul so that when the Calamity Shelter hotspot is dropped at their location it is close enough for melee players to still reach Râkdakul. All non-tank players should gather in the Calamity Shelter hotspot to avoid the damage from the Calamity channeled effect. Tanks can join in the shelter, but considering their increased mitigations they take far less damage from the Calamity damage than others and there is the chance that Râkdakul could use Defender’s Strike right after Calamity, in which other players may be in the line effect.
Take note that the Calamity channel will end early if Râkdakul gains or loses the Perfect Defense effect. So it is possible that the mechanic will seem to skip if the timings happen to line up.
In addition, there is a common bug where players will still receive the first tick of Calamity even if inside the Calamity Shelter effect. As such healers should still use damage mitigating skills when Calamity starts as a precaution.
Once the first set of enemies have been defeated Râkdakul to the southwest corner in preparation for the second wave.
When Râkdakul reaches 60% morale a second wave of an Orc Berserker, an Ordâkhai Sorceress, an Utugi Slaughterer will spawn from the southwest corner. Once these have been defeated move across the entrance to the arena to the northwest corner in preparation for the third wave.
When Râkdakul reaches 30% morale a final wave of two an Ordâkhai Sorceress and an Utugi Slaughterer will spawn from the northwest corner.
Once the last of the enemies have been defeated there are no more additional threats and as such Râkdakul should fall soon after.
On Tier 2 the strategy does not change.
Powerful Shout induction reduced by -1s (2s induction), base damage increased by +43% and is no longer interruptible.
Defender’s Strike base damage increased by +114%
Cacophony base damage increased by +100%
Smashed Bones initial hit base damage increased by +16%
Calamity damage increased by +200%
Calamitous Shelter causes a Scorching Burning Blood puddle (~2.5m radius, lasts for 20s) to be dropped at the affected player’s location on the initial cast and then every 2s before creating the Shelter on expiration.
The major difference on this tier is the added group damage from Powerful Shout and the recommendation to bring some sort of group removal to quickly remove Cacophony from everyone.
Whoever gets targeted with Calamitous Shelter effect will need to be mindful of where they drop the three Scorching Burning Blood puddles, and if they have the ability to simply dropping them in the same location and then moving to drop the Shelter hotspot would be the most efficient means of controlling the puddle placement.
On Tier 3 the strategy does not change but the waves of enemies become much more of a threat.
Defender’s Strike base damage increased by +328%
Powerful Shout induction reduced by -1s (2s induction), base damage increased by +43% and is no longer interruptible.
Cacophony base damage increased by +250%
Missing Tooltip
Smashed Bones initial hit base damage increased by +150%
Calamity damage increased by +700%
The changes to Râkdakul do result in overall more damage taken, but the real challenge comes from the enemies that spawn at the various morale points in the fight. Each Ordâkhai Sorceress now has the ability to create a Festering Boiling Blood hotspot under each player which could cause a ton of clutter with puddles everywhere. As such they should be the priority targets when they spawn, and they should get some form of hard crowd control to interrupt their induction. In addition, each Utugi Slaughterer can cast Harsh Call, which on Tier 3 has greatly increased damage. This means that while the damage dealers are focusing down the Sorceresses, the tank, healer, or support players should be focused on interrupting the Harsh Call induction.
Due to the damage scaling at this tier, the bug where players take Cataclysm damage ticks while in the Calamity Shelter is far more deadly now and you’ll want to use some form of damage reduction/mitigation.